THE ULTIMATE FANDOM NEWSLETTER
Next release: June 12 | 4 PM EDT
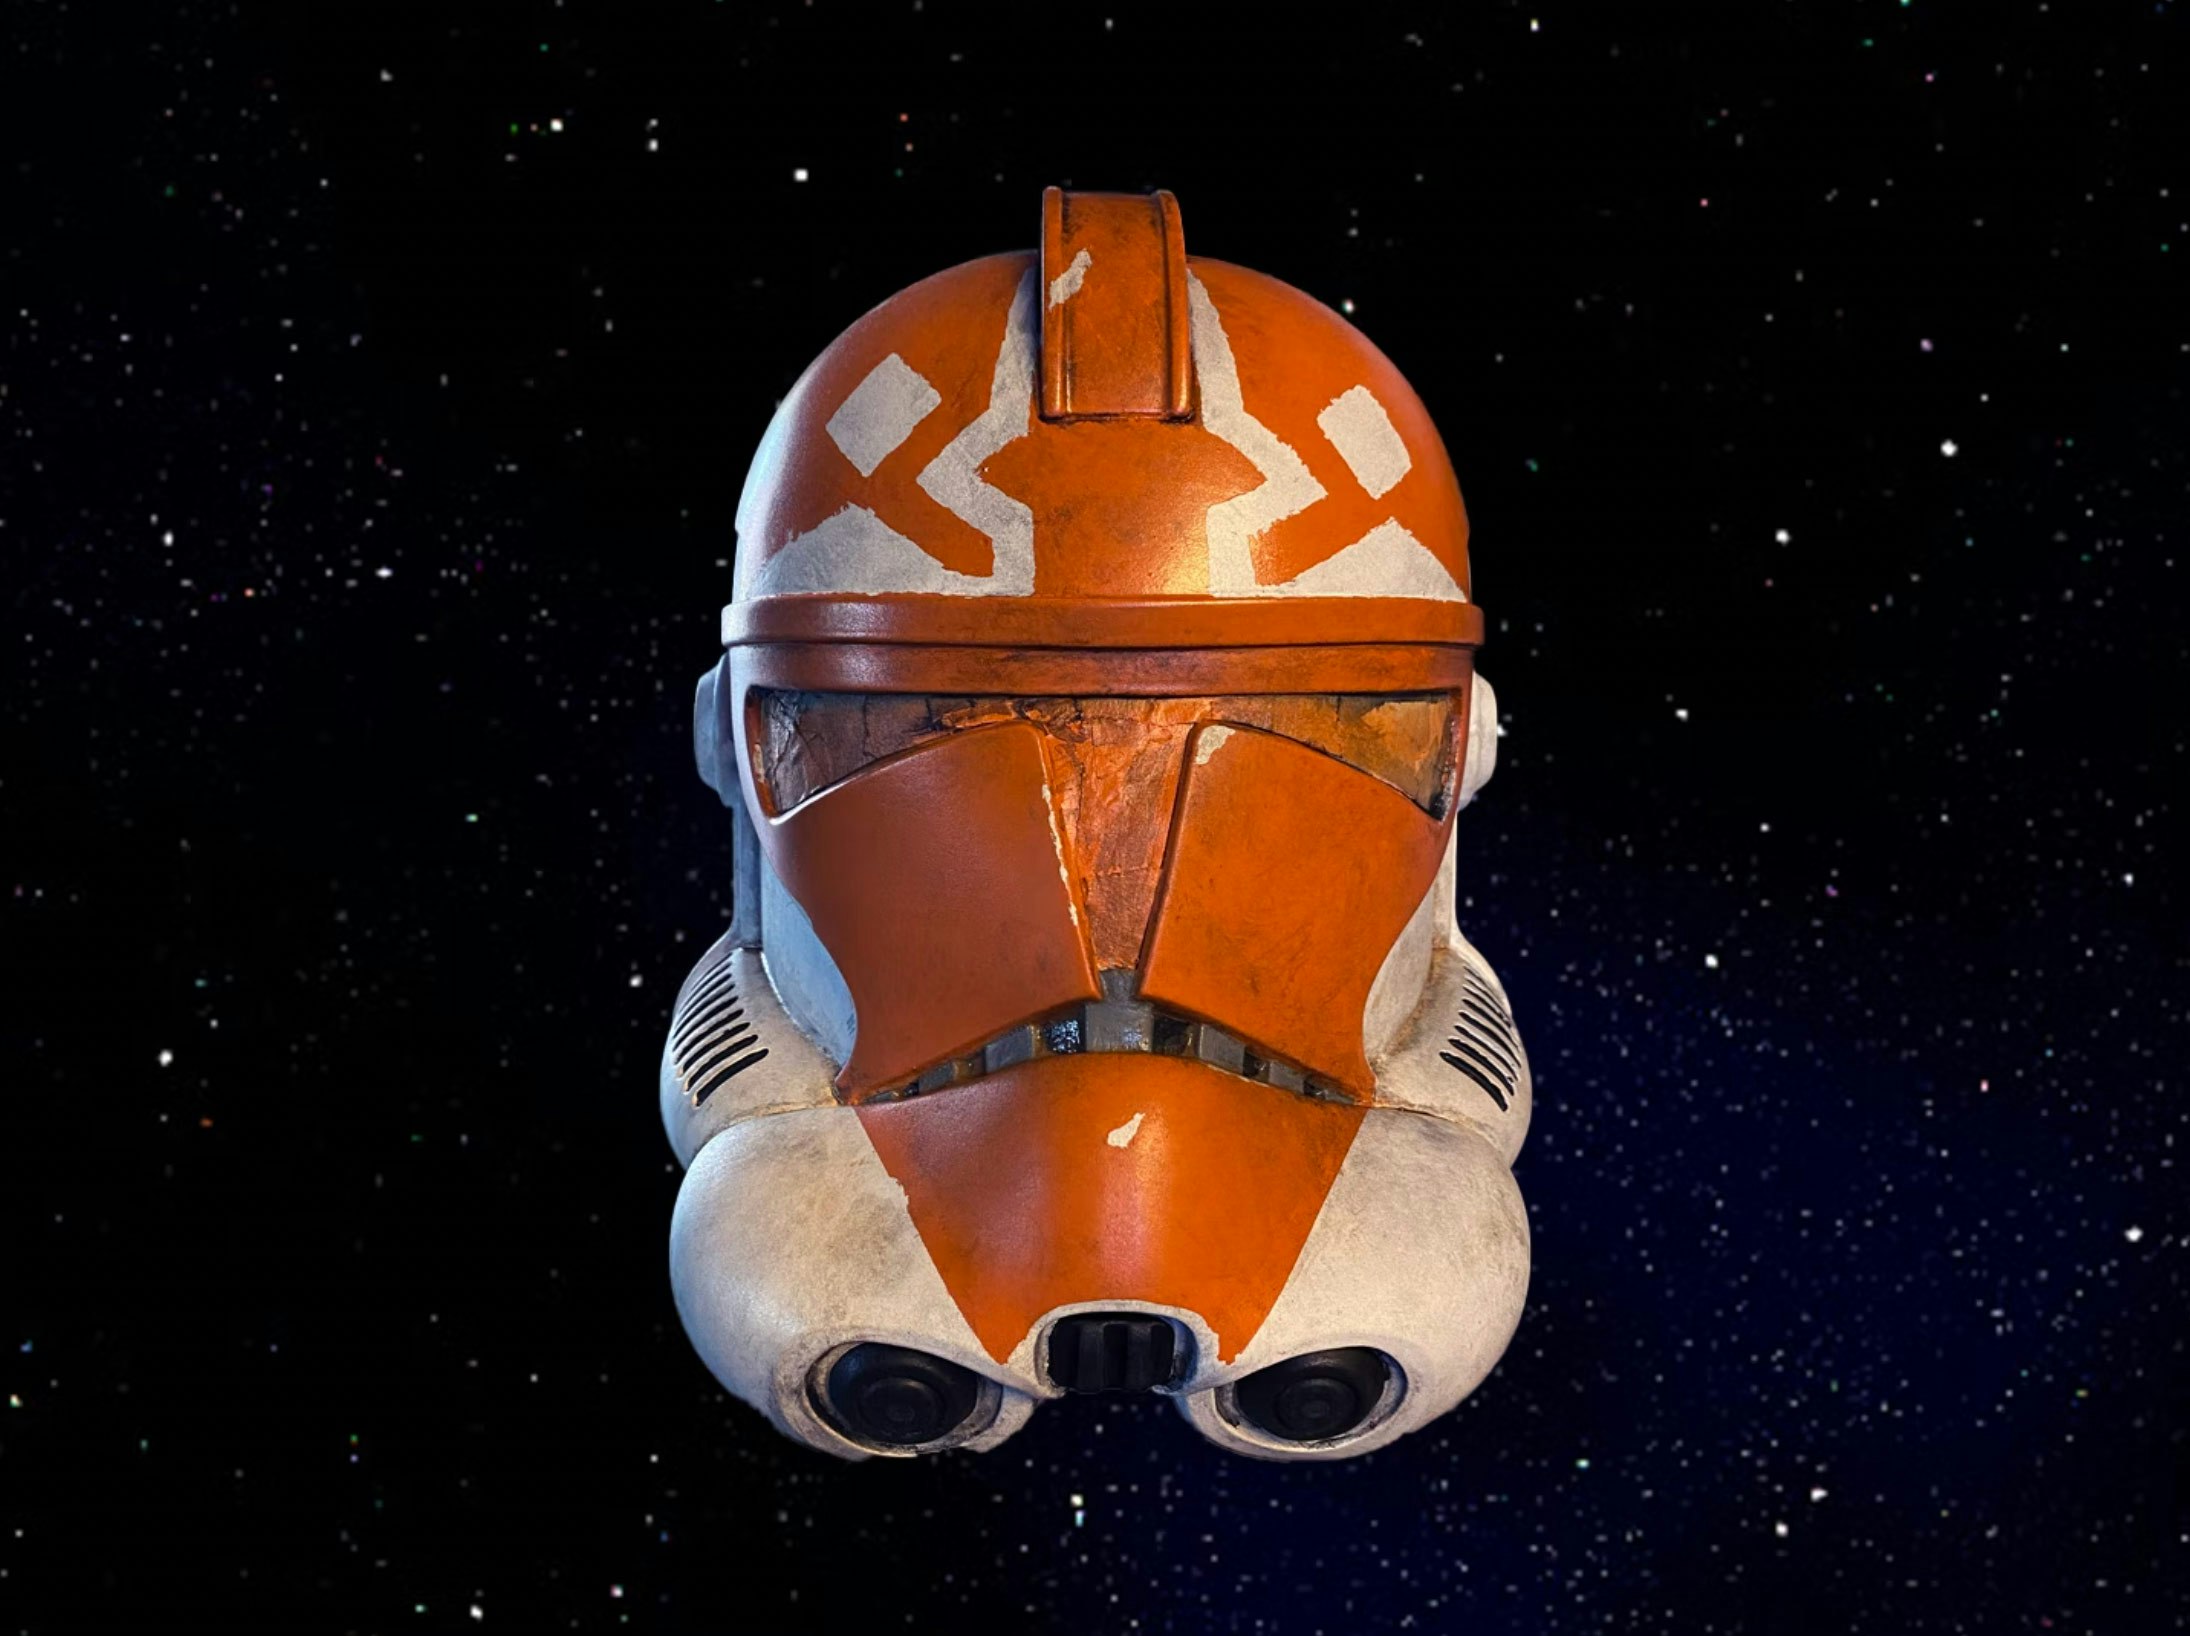
When I first watched the final arc in The Clone Wars, I fell in love with a certain Clone Trooper helmet design. If you watched the show, you instantly know which one I’m talking about. If you didn’t, here’s a quick summary. Ahsoka Tano finally returns to the show & the Clone Troopers from the 501st Legion are so happy that they paint their armor in tribute of her. It’s a very sweet and touching moment – plus they just look super cool.
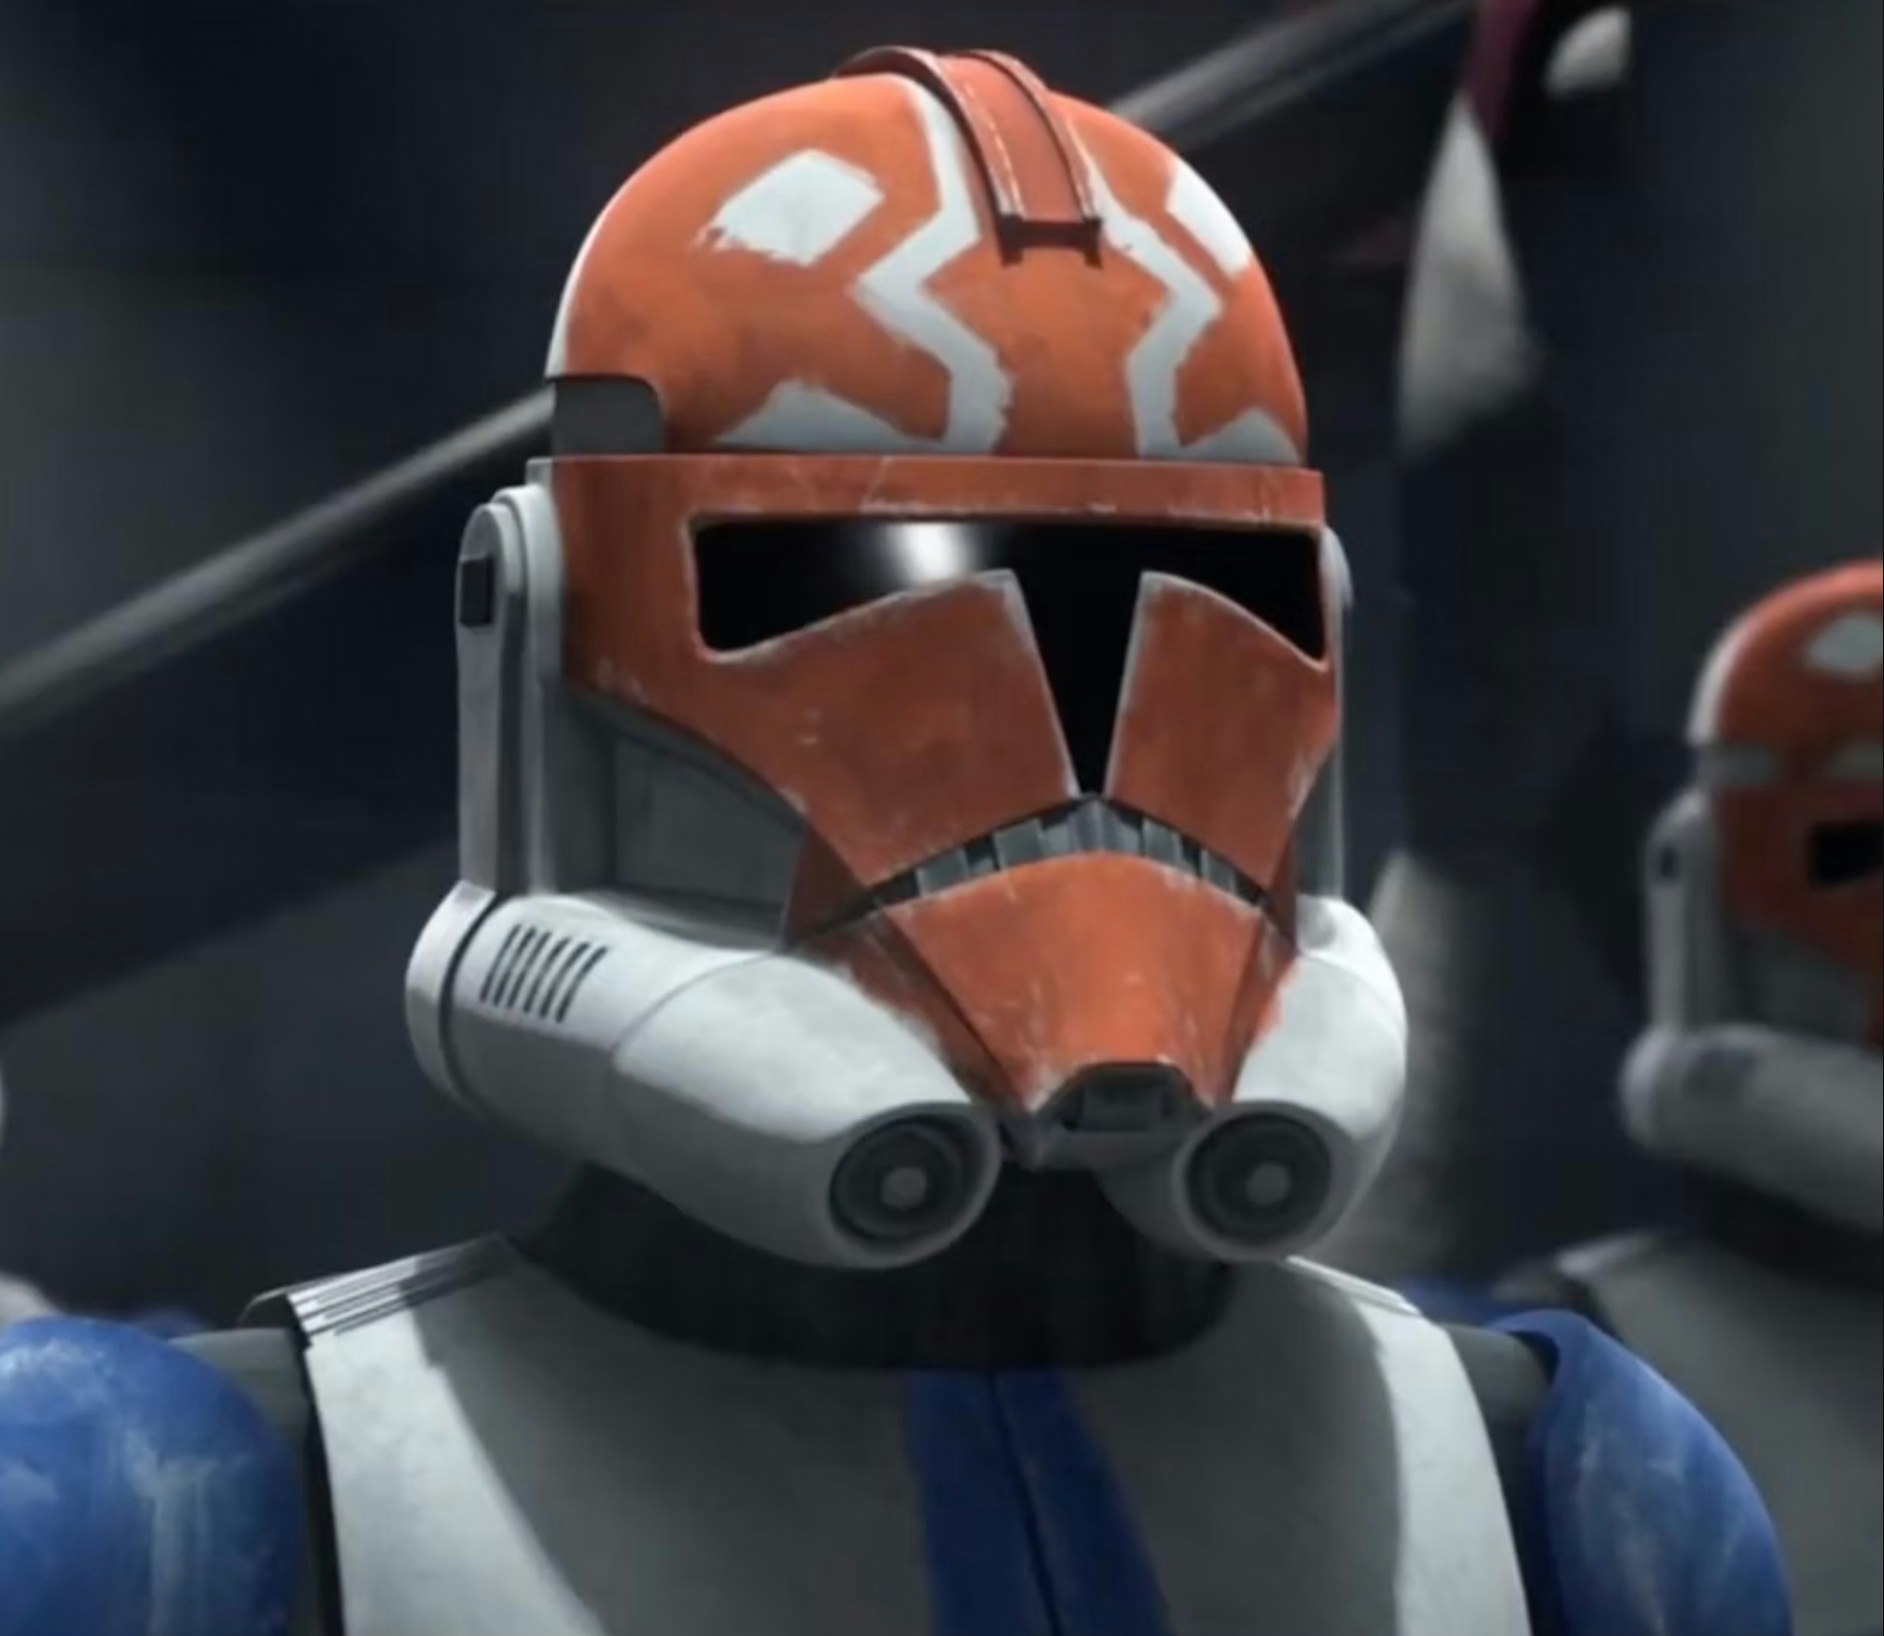


I decided on that very day that I was going to have one. The problem? These helmets were never made officially. There are many fan-made ones, but if I couldn’t have an official one, I’d rather just make one myself. After months of searching, I finally found the exact helmet I needed to DIY it. Once I was done, some friends recommended I write an article about it to potentially help other Star Wars fans and DIYers with their projects. Let’s do this!
STEP 1: GET A HELMET
This was a tougher step than I anticipated. As mentioned, it took me months before I found a helmet that wasn’t 3D printed and was also the right phase needed to complete this look. I had search alerts on Facebook and Kijiji and was checking every single night. At long last, I found one about an hour away and drove to get it. Success!
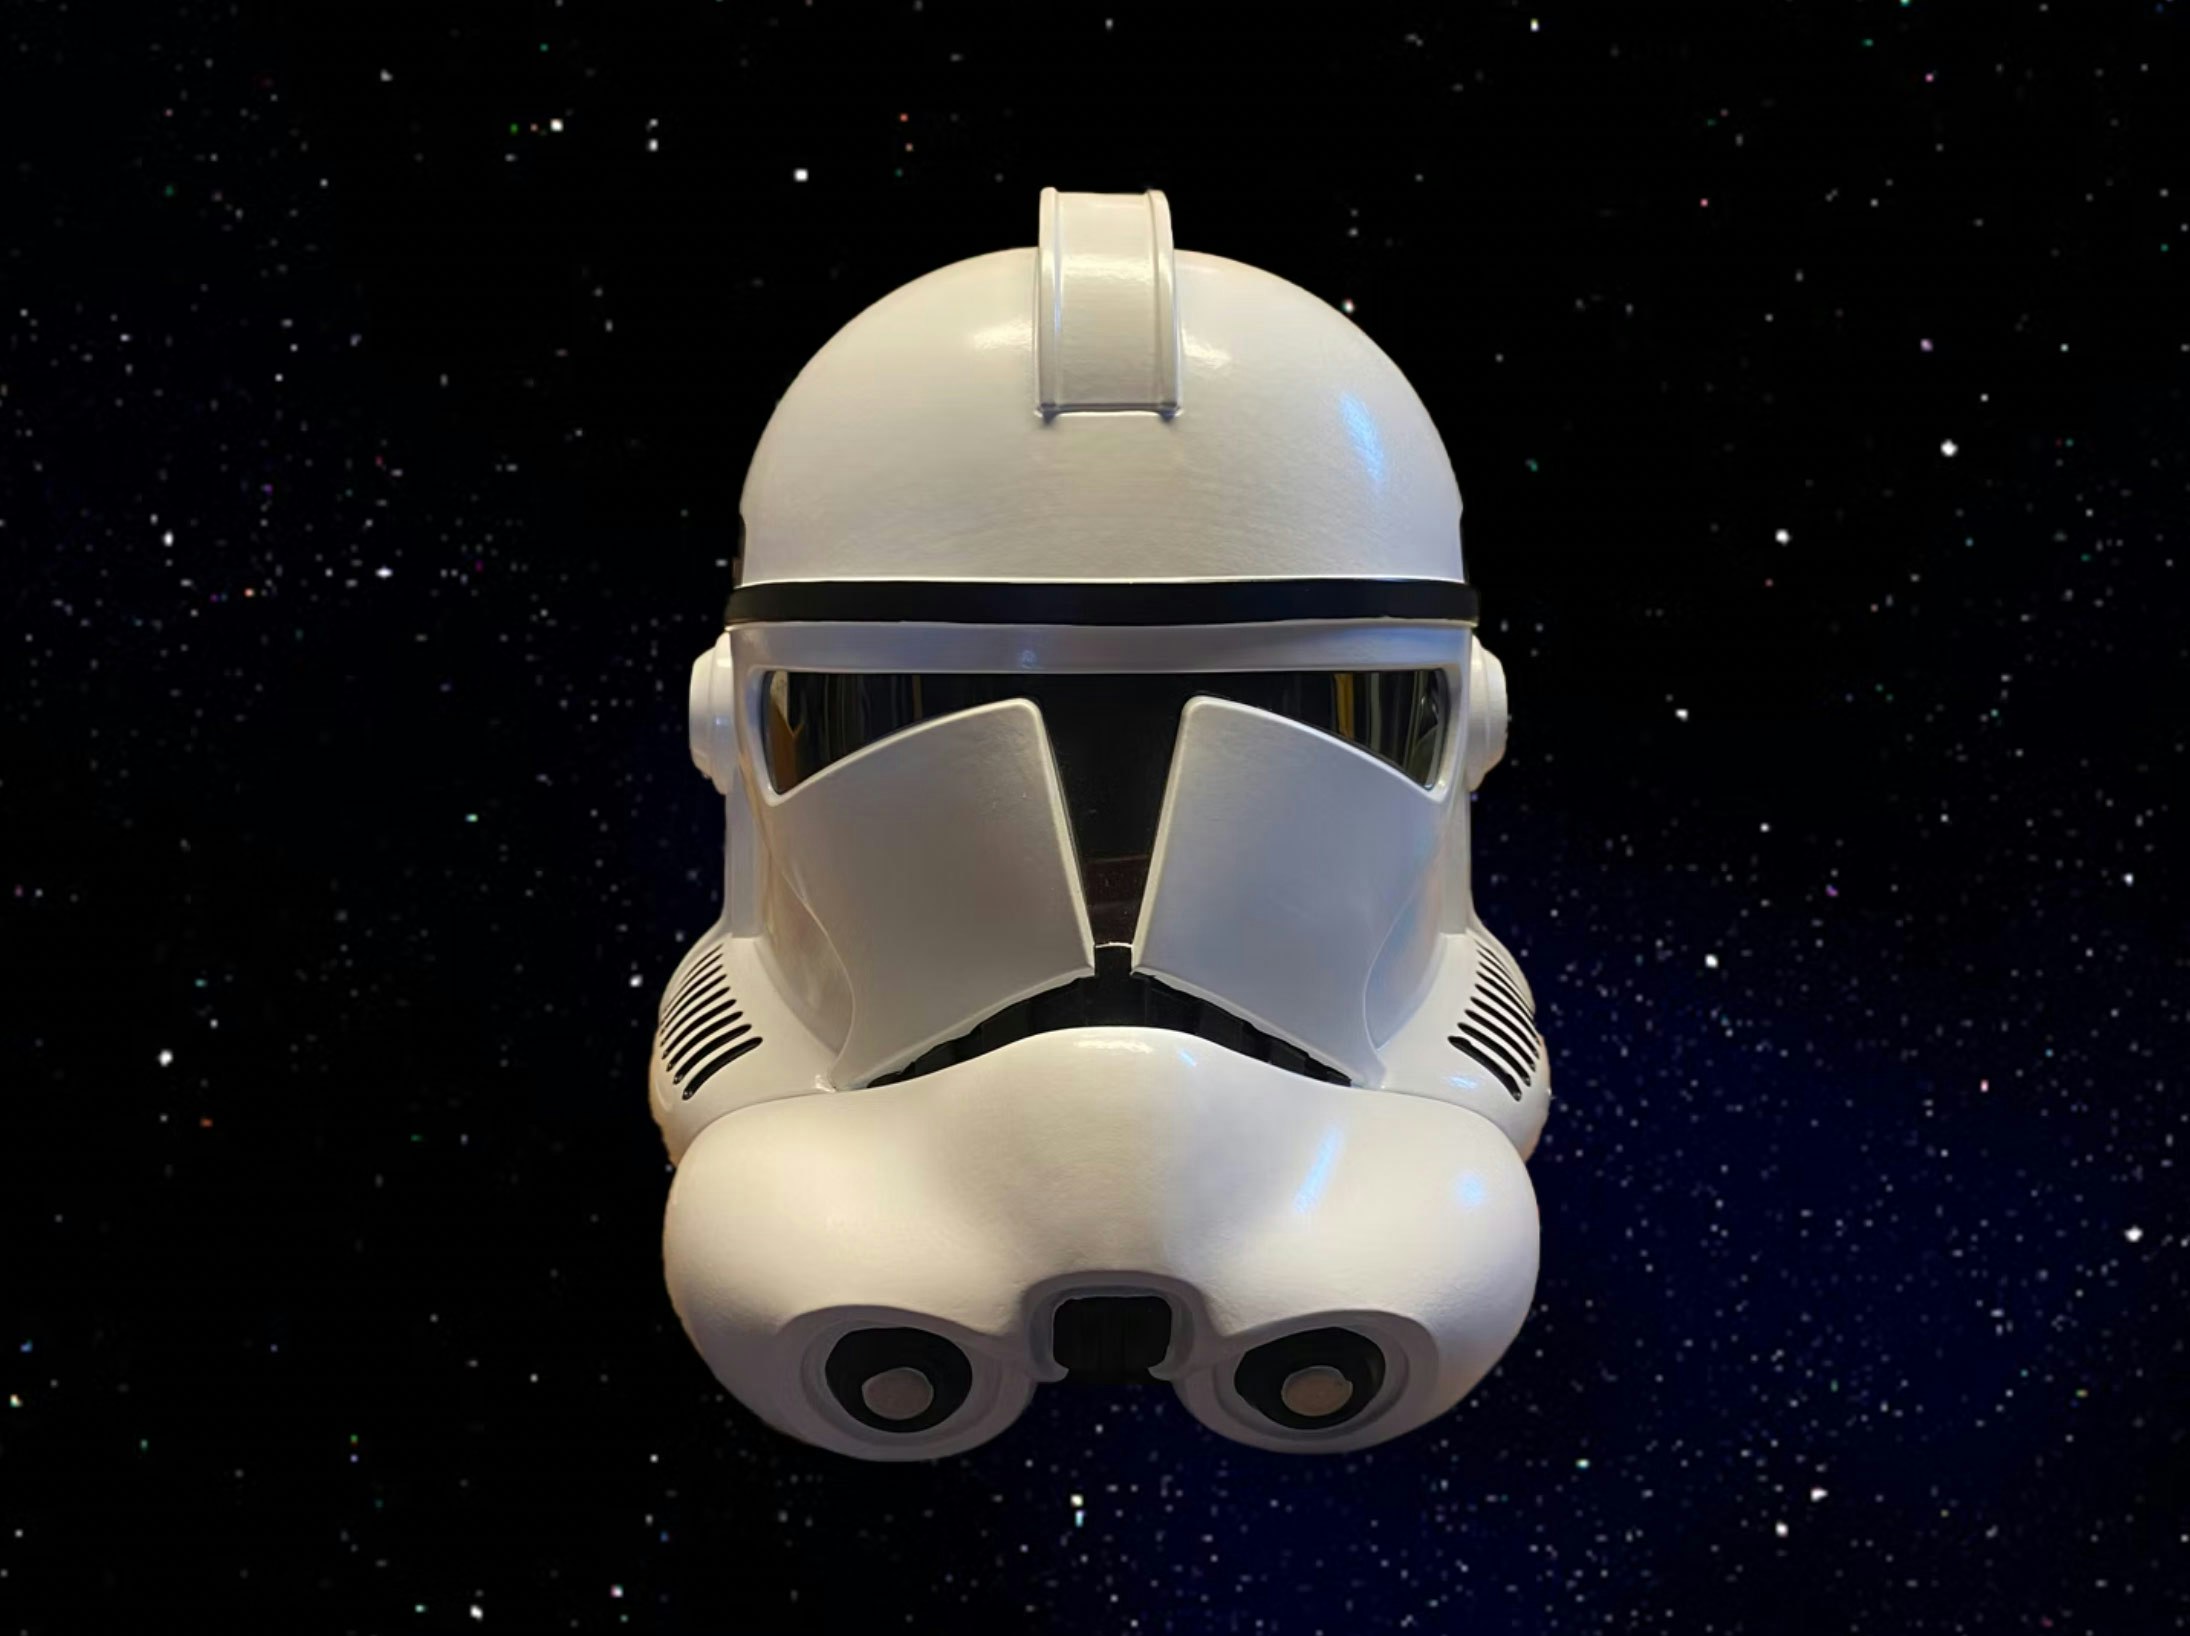
STEP 2: PREPARATION
The very first thing you need to do is sand down the entire helmet. I used 600 & 800 grit sandpaper to strip away any small imperfections and the original clear coatings on the helmet. This allows the spray paint to stick much better.
Next up, you need to seal off any pieces that you want to stay un-painted with painter’s tape. In this case, I kept the visor sealed since I still want to be able to see out of this thing. I decided to paint everything else white so that I would have a completely fresh start.
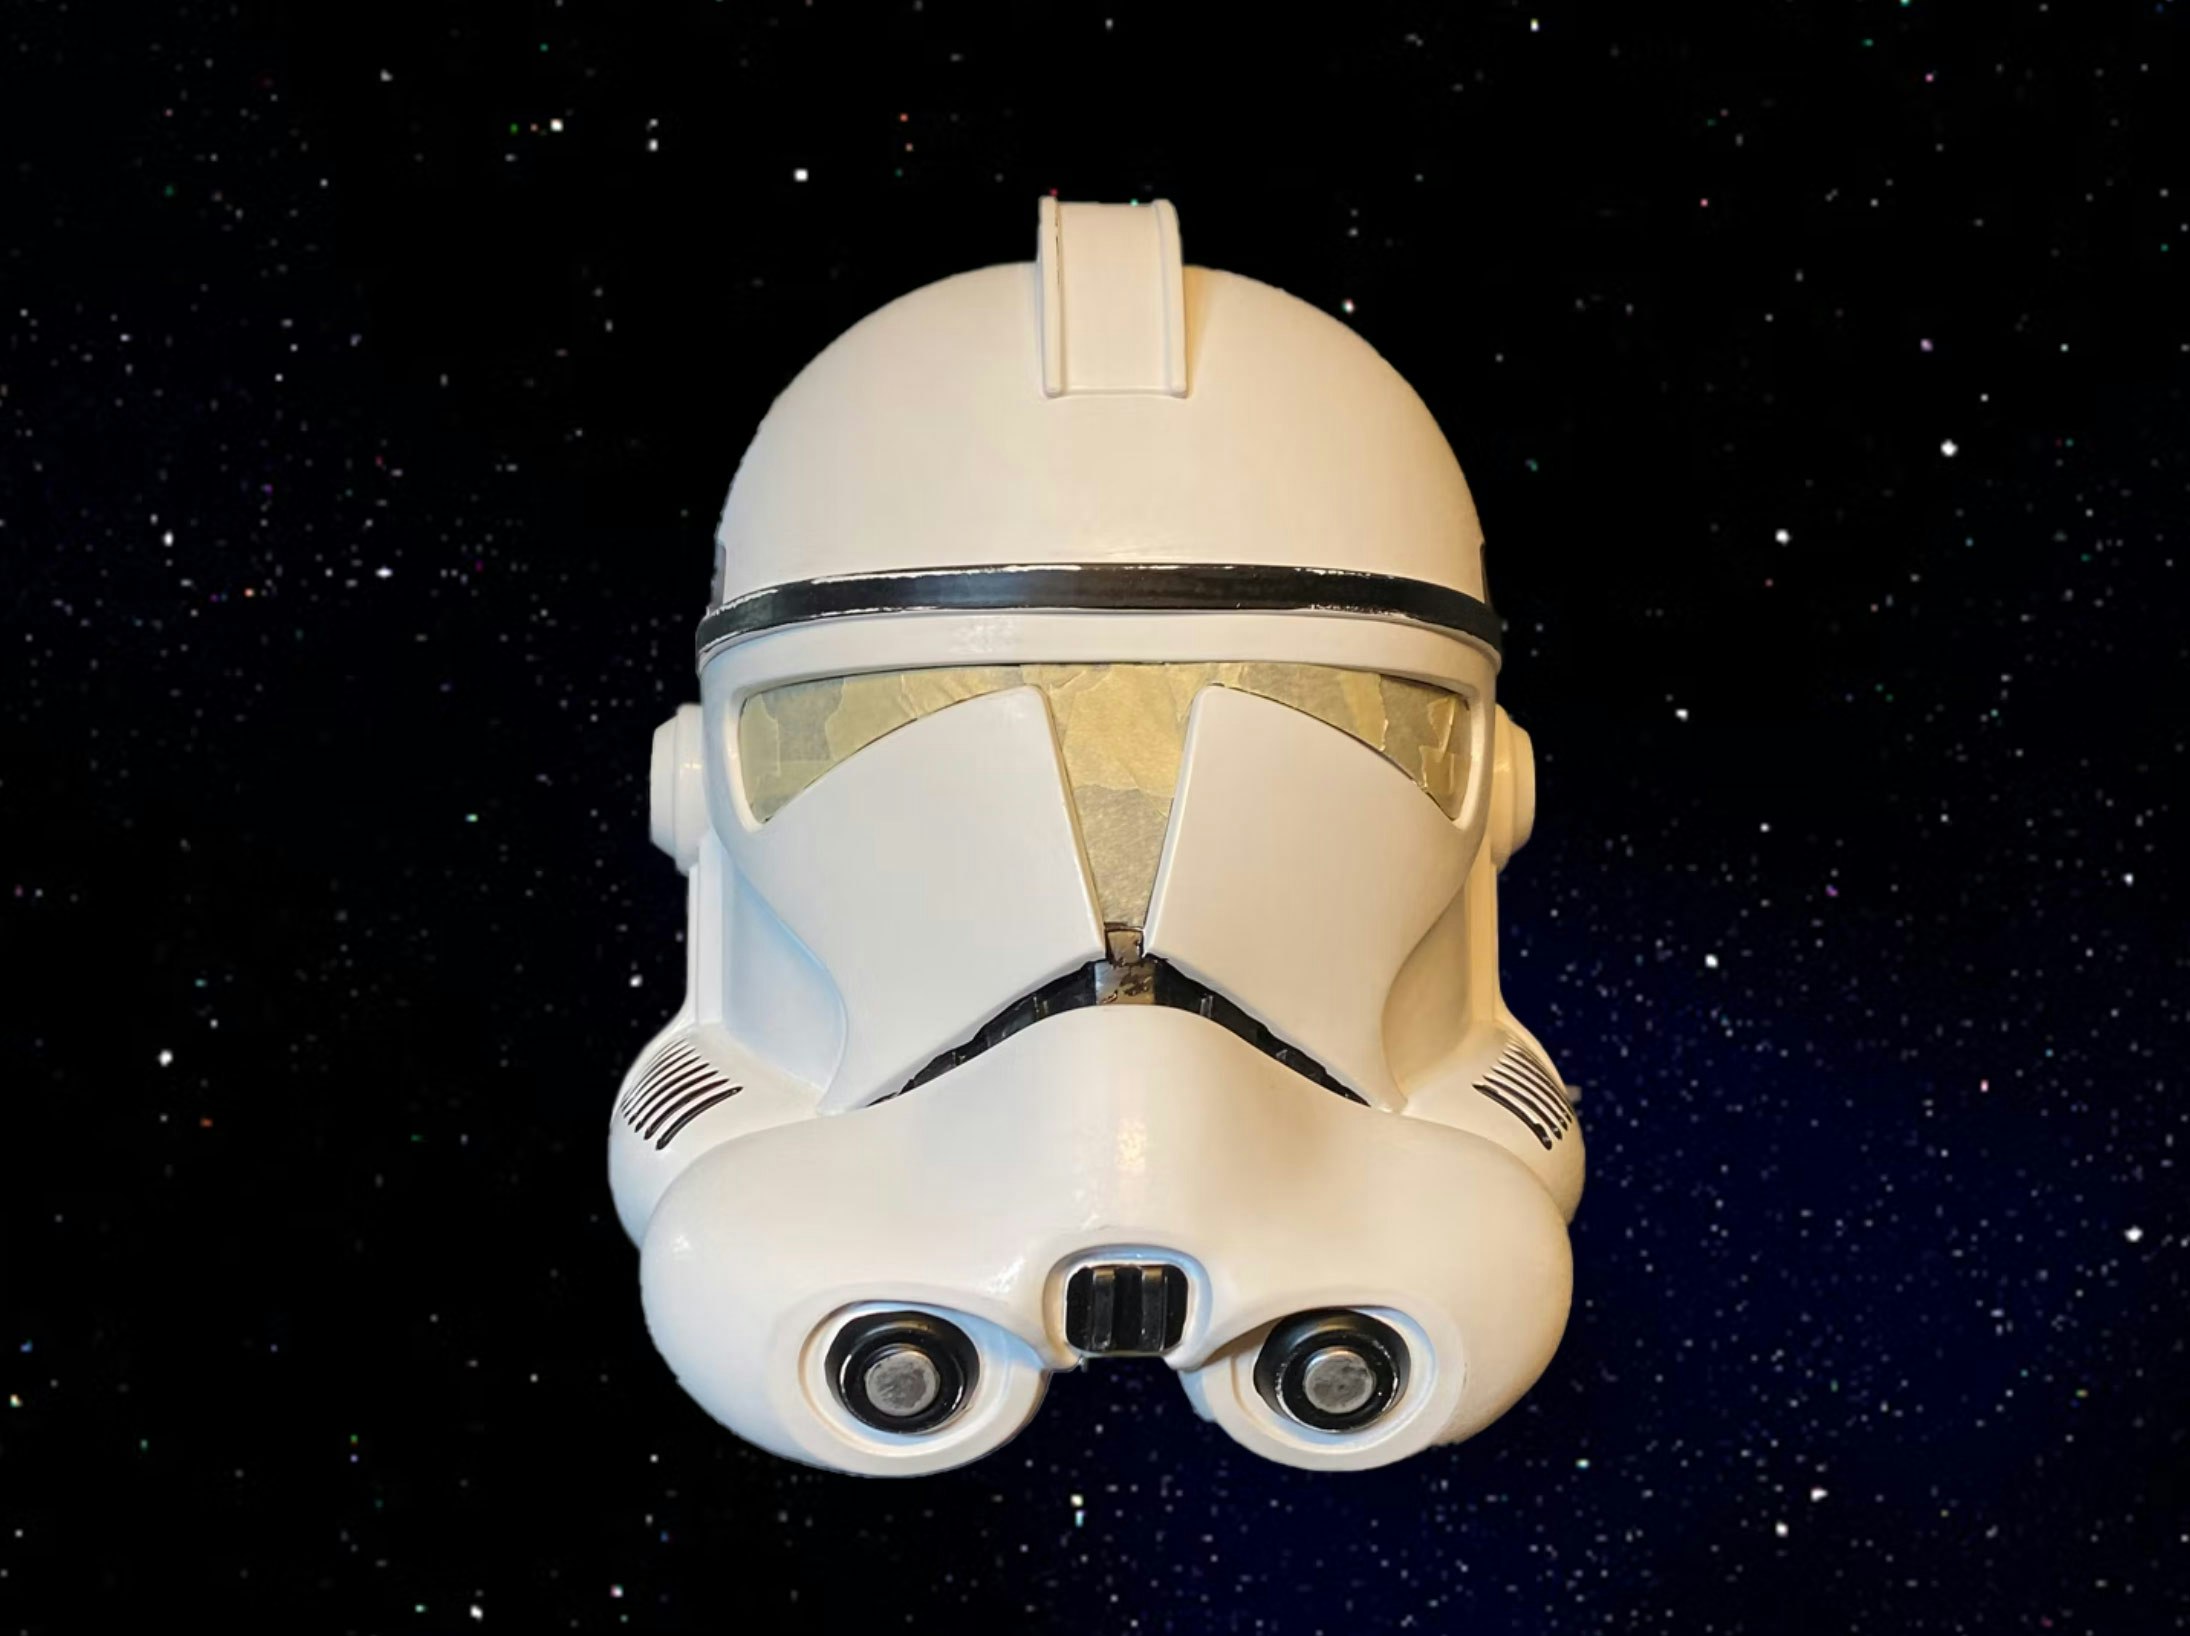
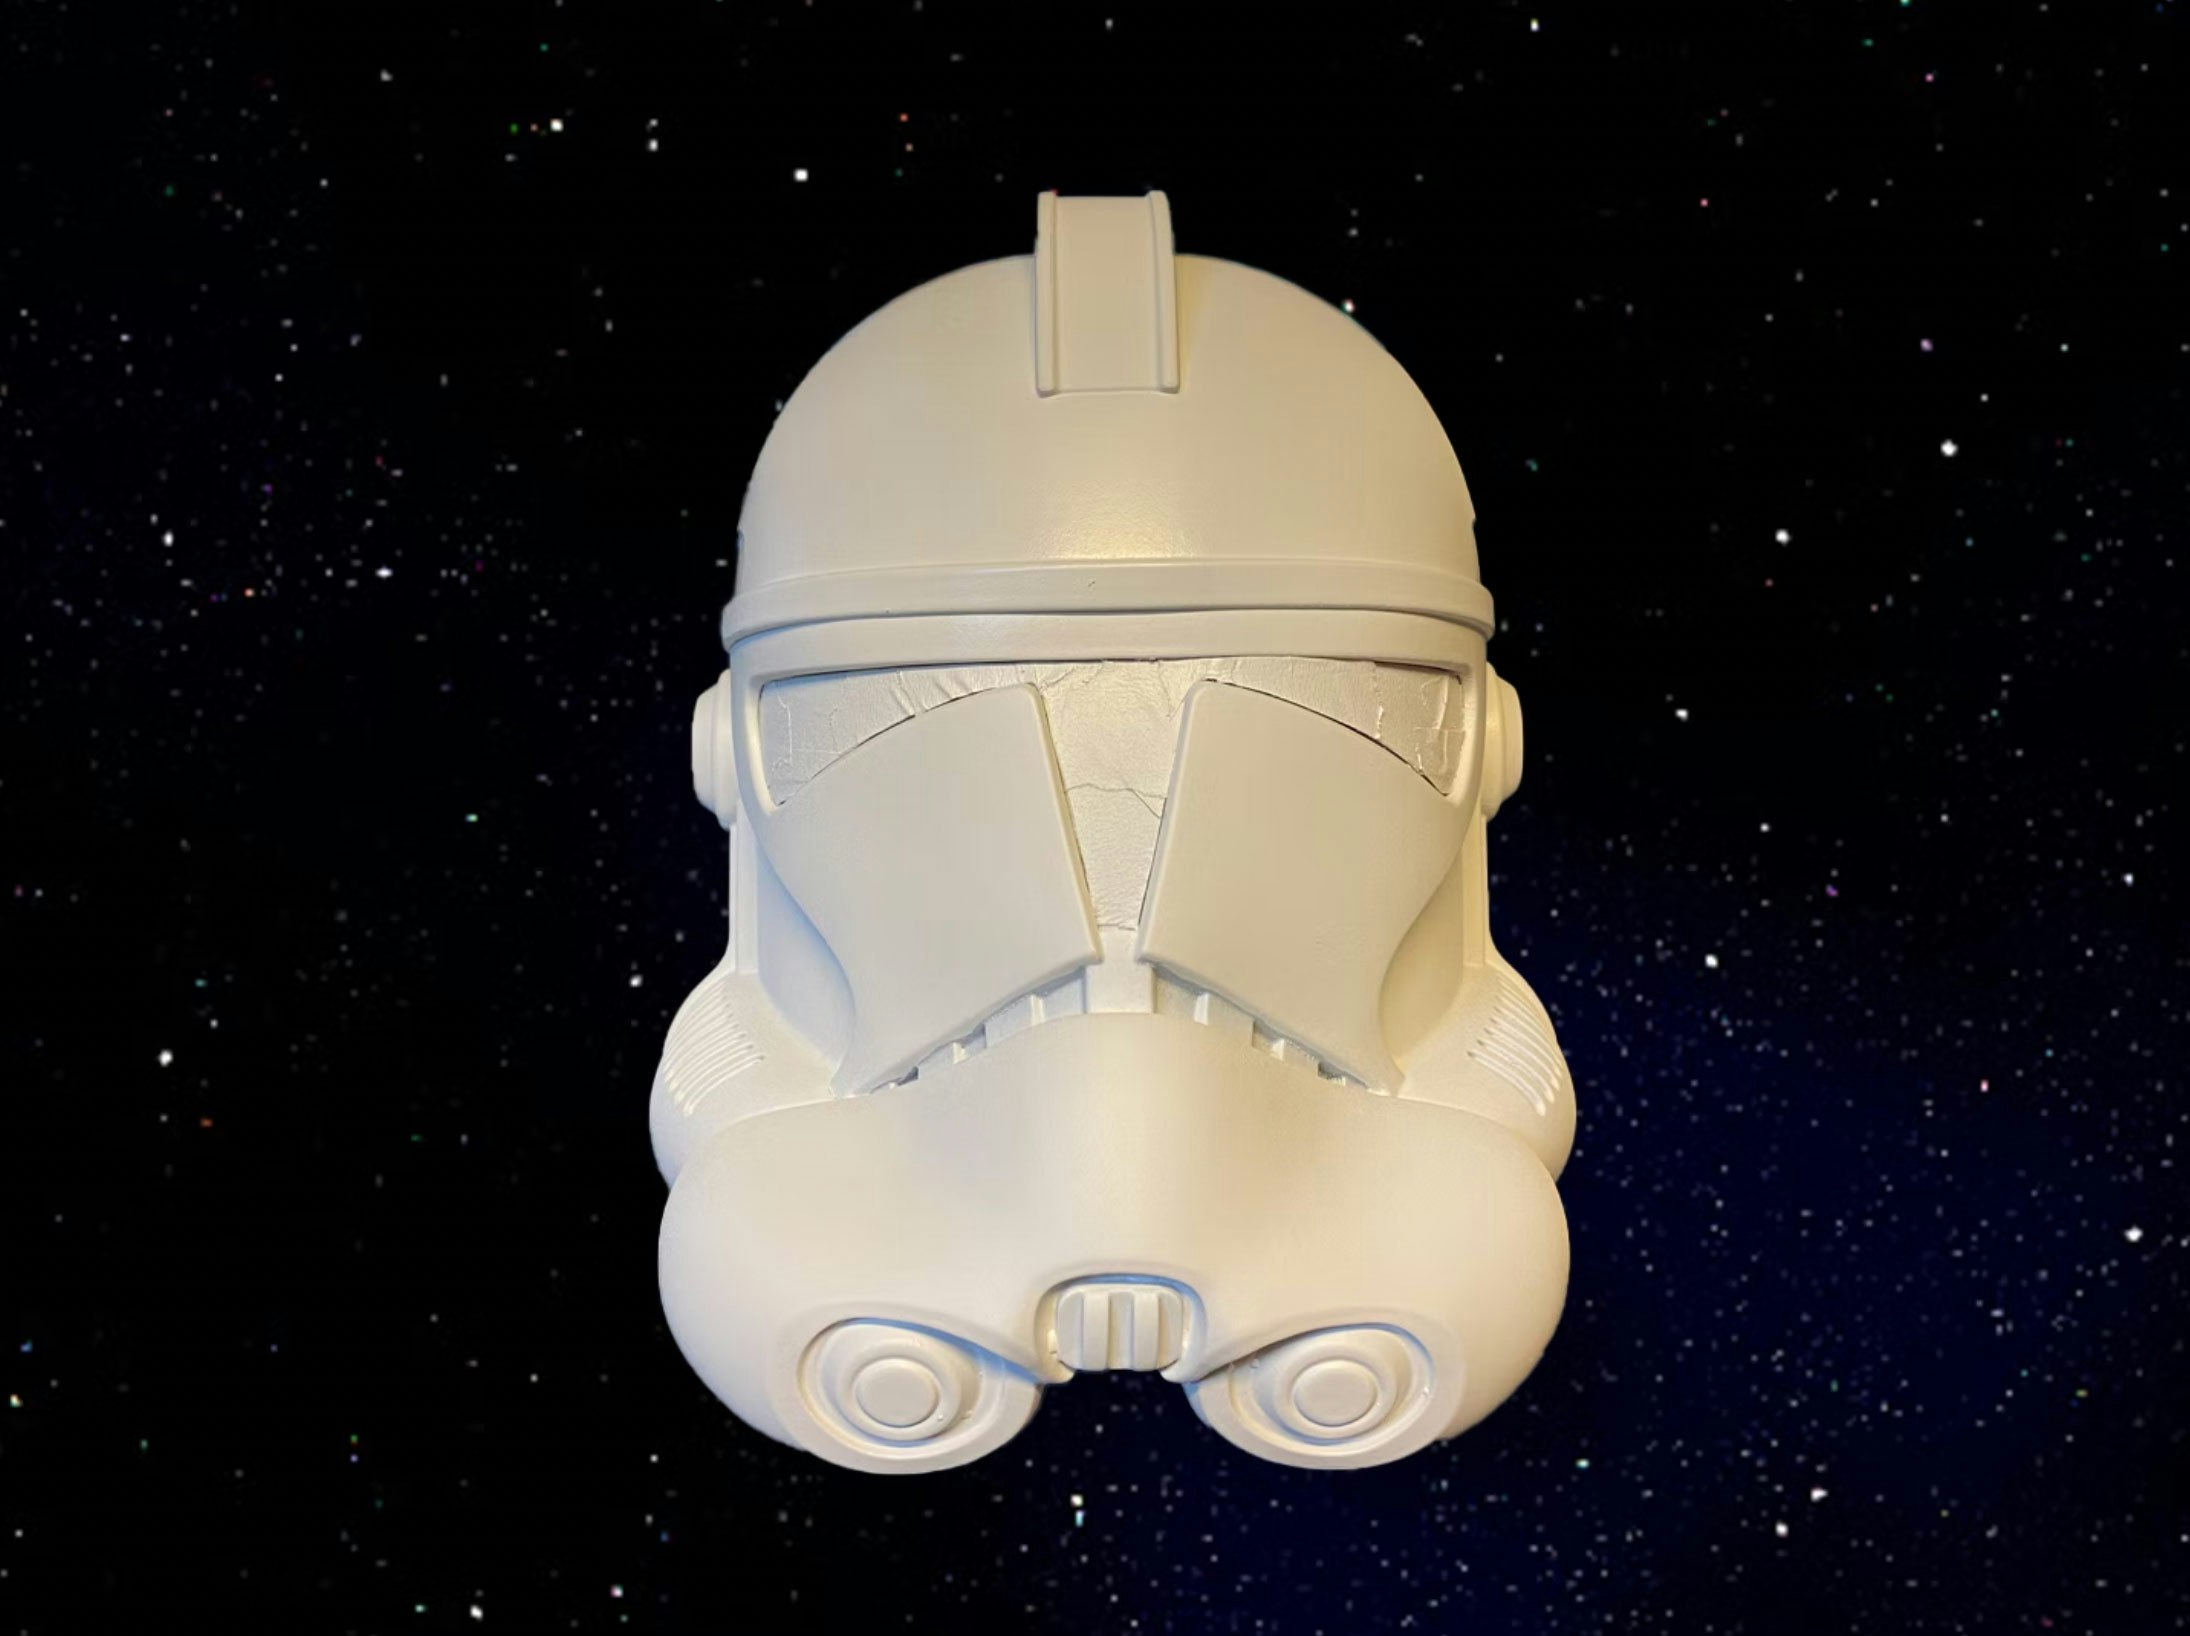
STEP 3: BASE COLOUR
I got a can of white matte spray paint and got to work. It took three coats, but the helmet was already looking way better than when I first got it. Some advice: watch tons of YouTube tutorials. It may be a basic thing, but I really felt prepared to evenly coat my helmet because of the tutorials and tips I got. Did you know you can put a can of spray paint in a bucket of warm water to help make the spray paint go on easier & smoother? Now you do!
STEP 4: ADD DETAILS
Let the base coat sit for 24 hours to really finish drying. Once that's done, you can start adding the details. I used Liquid Latex for the battle damages. I hadn’t heard of this method before, but you put the Latex wherever you want the paint to appear chipped, then you spray paint over it, and once everything is dry, you can literally peel off the Latex and it leaves a perfectly imperfect battle-damaged vibe. I used Liquid Latex on the top of the helmet too, to make the top half design appear rugged. I also used some acrylics to paint on the small details on the front and side.
Once the Latex and acrylics had dried, I used more painters tape to seal off the areas that I wanted to keep white. I then used three coats of Rustic Orange spray paint to add in the orange colour that the helmets have. It turned out exactly how I wanted.

STEP 5: WEATHER IT
With all the details and spray painting done, it was time for the final step: weathering it. This step basically makes the helmet look like it has actually been in a battle. It creates the appearance of dirt and grime, but without getting it dirty for real. It’s a super simple technique. Get some black and brown acrylic paints, a paint brush, paper towels, and a cup of water. Put some paint on your brush, water it down, and then apply it absolutely everywhere over your helmet. Quickly, before it dries, take the paper towels and dab (not rub) the paint. You will instantly start to see that the remaining paint left on the helmet more closely resembles dirt than it does paint. A perfect effect! Replicate this as many times as you want to achieve the look you desire.
Don’t forget – dirt naturally stays in cracks and crevasses, so make sure those areas are darker than most for the most realistic effect.
STEP 6: YOU'RE DONE
Make sure to seal the helmet with a clear coat (matte or glossy, depending your preference) and you’re done! You now have an amazing replica of a Clone Wars helmet that not many people do. I hope this tutorial helped educate or inspire some fans to create their own.


FEELING INSPIRED?
Check out other cool Clone Trooper helmets that you could make! The customization possibilities are endless.


